Showing posts with label DIY projects. Show all posts

Monday, July 25, 2011

Baby Shower Gift: DIY Peepee Teepee

I thought I would finish out the baby shower series with a fun and inexpensive baby shower gift: The Peepee Teepee.  This is a flannel teepee shaped object that you put on the baby’s, um, peepee to prevent him from peeing on your.  Genius right?  I first encountered this little miracle while browsing in a gift shop on vacation and have been ecstatic for someone, somewhere, to have a baby boy.  I was originally going to buy these little gems, but after some thought and a can-do attitude I decided to craft some up.

I started by picking out a manly pattern in flannel for my peepee teepees.  I bought a yard, but that was wayyy too much (for 6 peepee teepees and 1 carrying bag) so a ½ yard or less would probably do you just fine!   Depending on your fabric choice that means that this present would come in under $3 - $4!


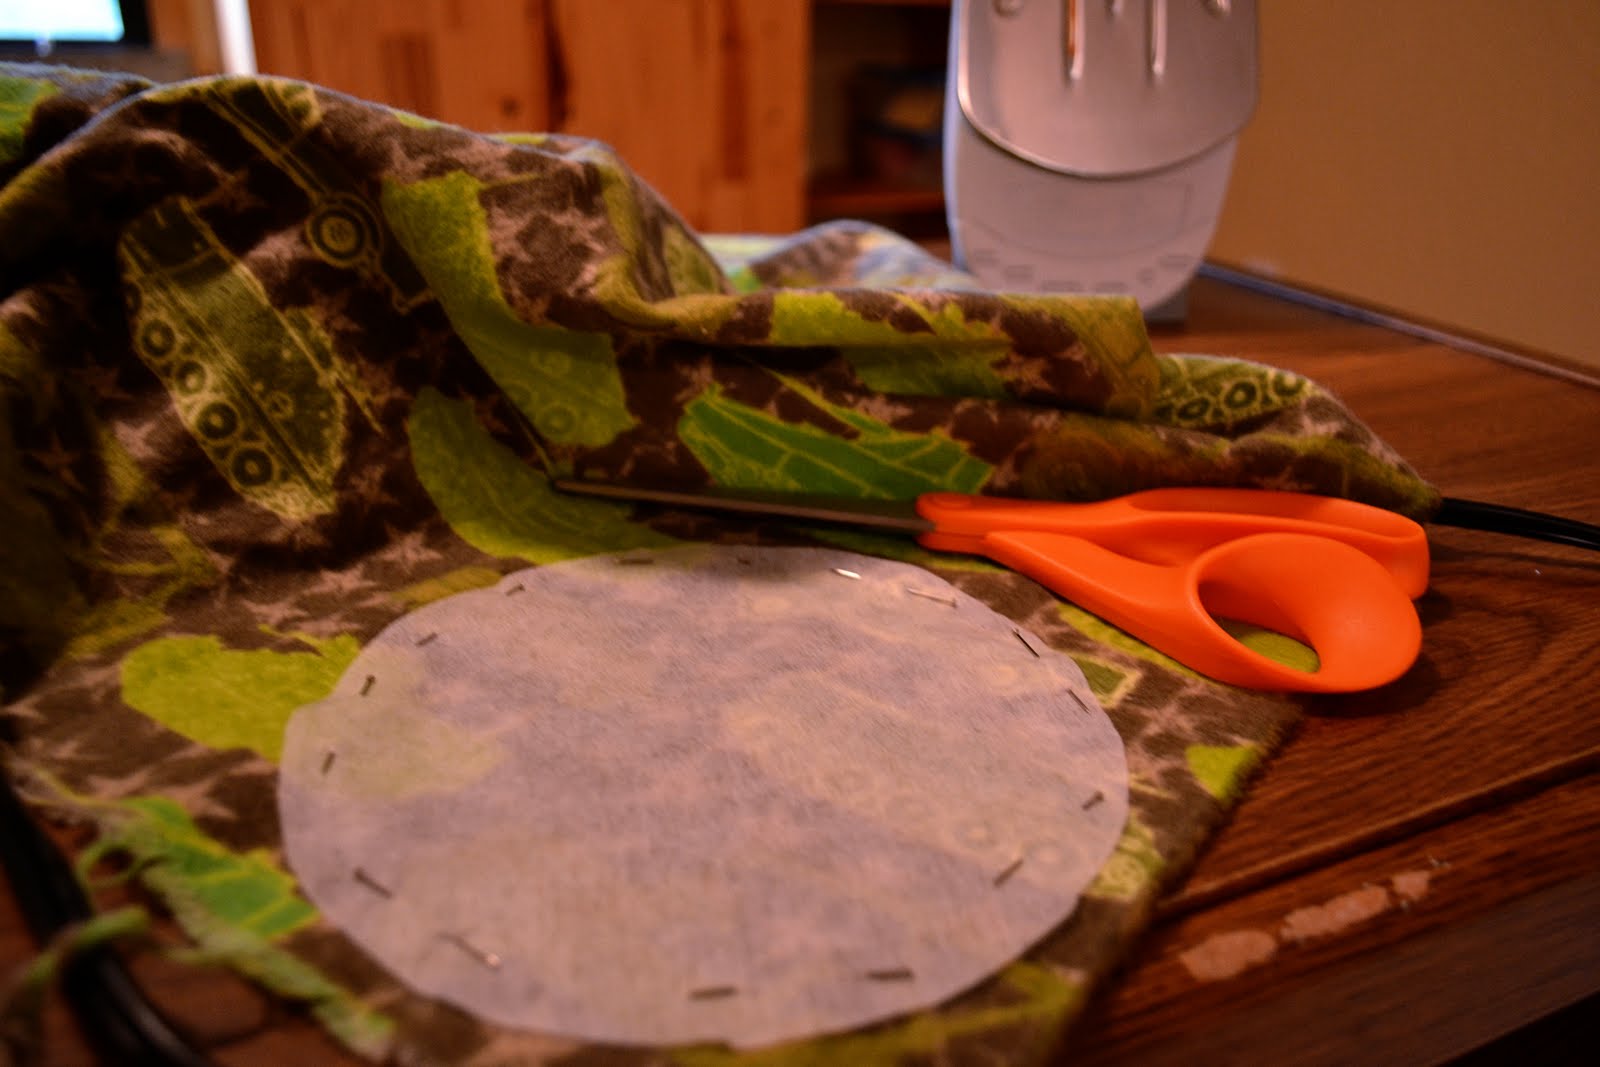
Next, cut out a circle with a diameter of 6 inches.  I happened to have some left over pattern fabric so I whipped up a pattern from that.


Pin your pattern to your fabric and cut out the desired amount of circles.  Make sure you wash your fabric before cutting to prevent any shrinkage and distortion in your teepees after they are sewn together.  Also iron your fabric to make it flat enough to cut out the perfect circle.


Fold your circle in half (pattern side facing together) and iron it to create a crease.  Then, pin together the sides of the fabric. 


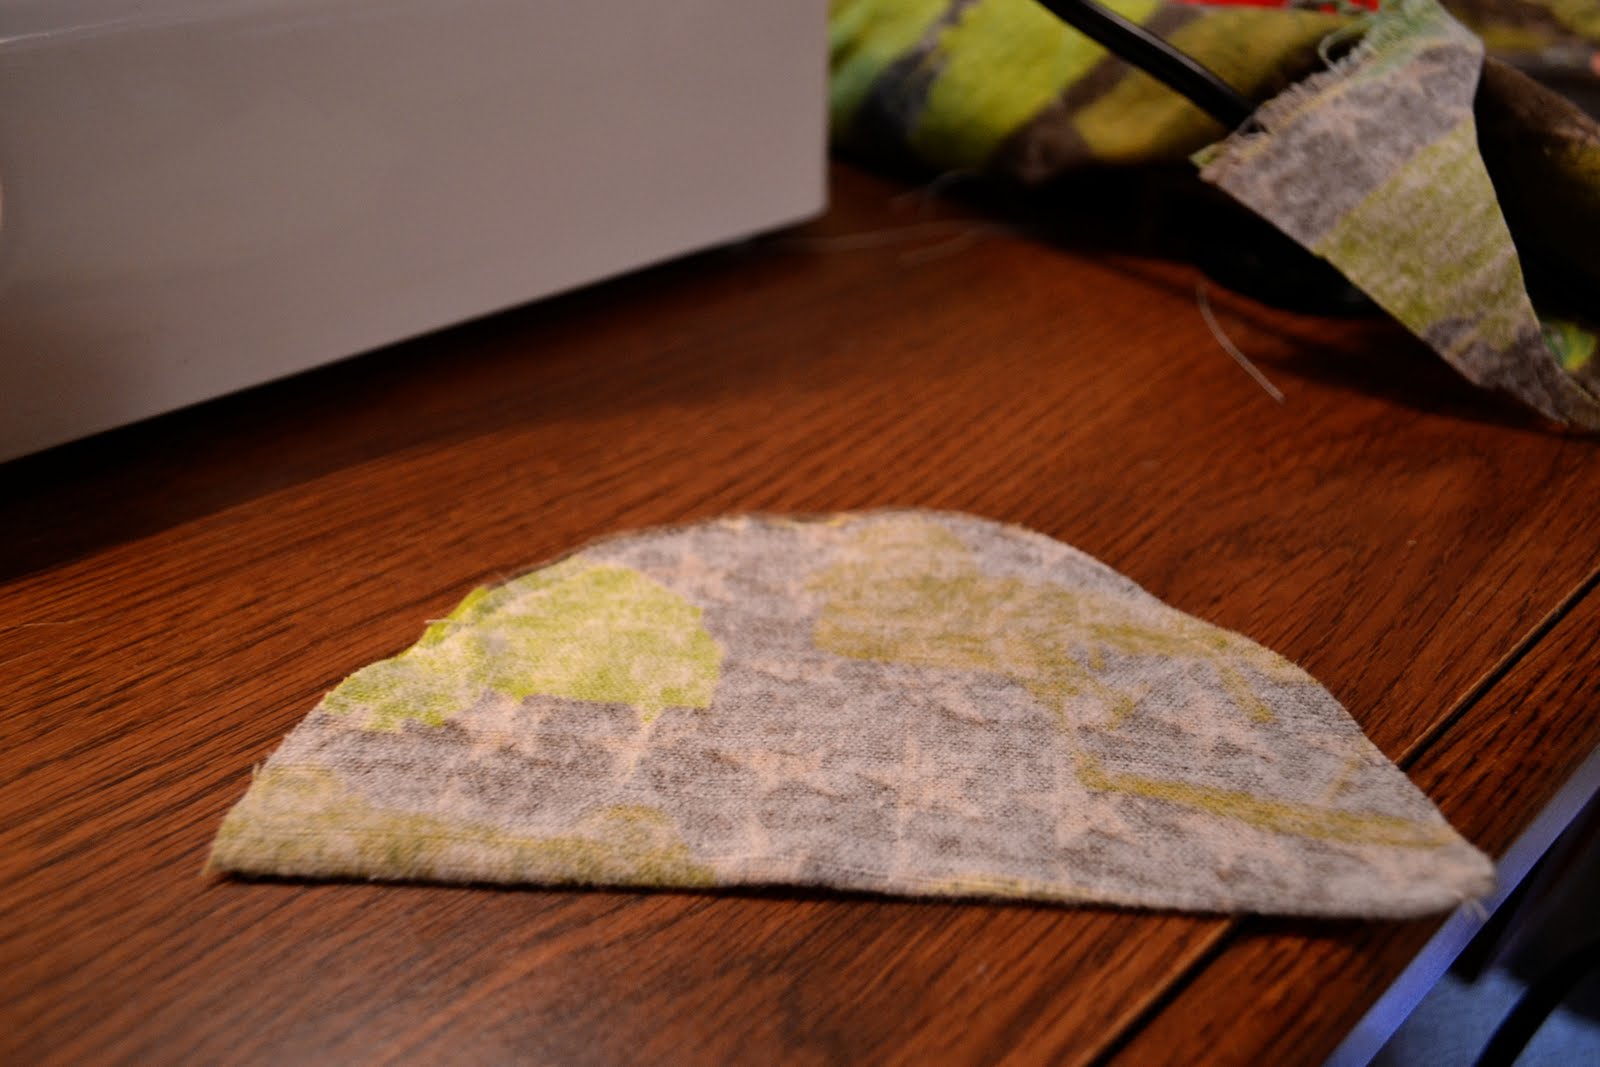
Sew around the edge of the half circle with a ¼ diameter seam, leaving 1 – ½ inch opening at one end.  The opening is to turn the circle right side out.


Turn your teepee inside out and tuck the opening fabric into the inside of your  half circle ¼ inch, pin together, and iron.


Around the curved part of your circle, sew another ¼ inch seam to seal the opening.


Next, pin the straight edges of your half circle together and sew a ¼ inch hem along the straight edge.


Turn your teepee inside out, and you have your finished Peepee Teepee.


From the extra fabric I made a drawstring baby for the new mommy and daddy to keep their Peepee Teepees.  I used an army print that went with the army truck theme to print out a label for the Peepee Teepee bag on white muslin fabric (which you can find at any fabric store), to make a truly customized baby shower gift!


Friday, July 15, 2011

Removing an Ugly Corner Shelf...Again

I am happy to share that the hubby and I have made steps towards painting our living room.  Being the impulsive person that I am I wanted the living room painted, like yesterday, after we completed our paint swatch process to determine what color we wanted.  But, there were a few obstacles in our way before we got to painting.  Namely the huge ugly built in cabinet.  Remember the first one? While one down, one to go.  On a side note with wood in mind, blonde on blonde should NEVER happen, except if it's a Dylan album...then I will let it slide. 


The corner cabinet had to be removed prior to painting so there wouldn’t be a huge white spot on the wall where the cabinet used to be (see the huge white spot now?), so wasting no time we got right to it.  First things first, we removed all the easy stuff like the cabinet top and shelving.


Then we used a tool called a cats paw to pry the trim off the front of the cabinet.


We unscrewed the cabinet from the wall and were able to pull it out.  And then we took it into the driveway and destroyed it office spaces style.  No lie.


But we weren’t done there….nope!  The previous owners had resurfaced the beautiful hardwood floors, but somehow that cabinet was super important to them so they did not remove it for the re-surfacing.  They left it there.  With carpet underneath it.  So we peeled back the carpeting, took off the carpet pad, and used the cats paw again to remove the carpet tack strips.


It wasn’t too tough of a project to take on, but it did leave us with some new challenges.  Because the previous owners varnished the floor with the carpet still under the cabinet, some of the varnish crept up under the carpet leaving us a nice little varnish line.  Three lines to be exact.  BUT it isn’t anything some light sanding and another coat of varnish won’t fix….hopefully!  Fingers crossed!

Wednesday, May 25, 2011

Welcome to the Old Apartment..

Well technically it's a townhouse, but you get the idea.  Before going forward into the new house I feel like I have to take a couple of nostalgic steps back and appreciate the old house.  It is where I started my blogging DIY adventures attempting to make our rental into our first home as a married couple. 

I’ve blogged about the living room here, here, here, and here, the spare bedroom here and here, and parts of our bedroom here and here, but never our dining room, which was where a lot of my pre-blog DIY projects ended up. 


To the left are my DIY beach theme dictionary prints


and to the right is my Minnesota Map cluster from this post


I bought the white hutch from Ikea and customized with a hanging wine glass rack


and used it to display the antique china from my grandmother I got as a wedding gift.


My table runner was quilted in pale blues and warm browns by my hubby’s grandmother and I created DIY newspaper monogram art inspired by Young House Love. 


My last favorite part of my kitchen is my cookbook stand that allows me to display beautiful cookbooks as art.  The counter into the kitchen was also the place I found to put my $1.00 salt and pepper shakers.


So that rounds out the tour of the dining room and life as we knew it as renters, and we now begin our journey as happy home owners.