
For Easter we decided to put a twist on the traditional Easter Egg dying. My sister in law was inspired by this post which used the ink transfer from silk ties to dye their Easter Eggs. The first step is to find 100% silk ties with interesting patterns. Goodwill and thrift stores are a good bet and you can get silk ties for as low as $0.99. As soon as you find your ties cut the silk fabric off of the tie.

Next, cut off a small piece of the silk tie. Make sure it is enough to wrap around the entire egg. The fabric from one tie is enough to make several eggs.

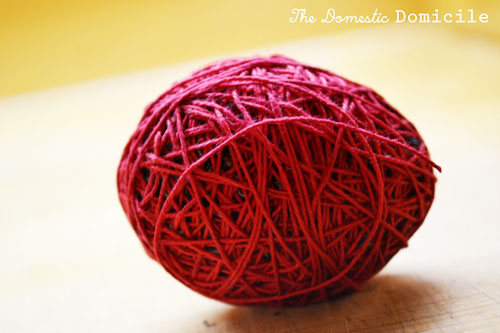
With the silk side facing the egg shell wrap the fabric completely around the egg. Then begin to wrap the egg and silk with string.

Keep wrapping with the string until the egg is completely covered!
We ran out of string pretty quickly, SO a variation on this is to wrap plain white fabric around the silk and the egg and secure it with a twist tie.

Then place them in a cold pot of water and boil for 15-20 minutes, just like you would a regular hard boiled egg.

After we boiled them we ran cold water over the eggs and let them cool. After you unwrap the eggs and silk and have a beautifully dyed egg underneath!

Here are all the ties with their respective eggs. It is so amazing how the pattern transfers almost perfectly, but the colors transfer in so many variations!

This was definitely a fun variation on the traditional Easter Egg. Overall it was pretty low key to dye the eggs this way, and it was a super fun process that the whole family got into!

And I can’t get over how beautiful the patterns turned out! I hope everyone had a great Easter and hopefully this will inspire you for next year!

No comments:
Post a Comment
Let me know what you think. I would love to hear from you!