Showing posts with label DIY wedding. Show all posts

Saturday, August 27, 2011

DIY Wedding Revisited: Favorite Pictures and Details

After gushing all about the invitations, programs, church décor, table names, centerpieces, favor boxes, wedding wine, cupcakes and photo guest book…whheeeww…I thought I would share my favorite details from the day and my favorite pictures of the hubby and I.  Firstly, I want to start off saying that our photographer was an absolute life saver.  A saint really.  The 4th of July before our wedding…a mere month and a half before wedding day, we bumped into our photographer out on the town.  He was a sports photographer from our town who had excellent equipment AND an excellent price.  We booked him, and followed it up with two conformation calls.  Back to the present…well the present at the time of 4th of July.  We mentioned the wedding and he said “ohh let me see if I still have it open”. Huh? Well he didn’t.  My sister-in-law saved the day by referring a friend who was an armature photographer. If you have been tuning into this series you will know that she is more like strictly pro.  In the end I am ecstatic with the way things turned out.  I got an excellent photographer for a meager few tears on the 4th of July – Score!    

This is my dress which I was so absolutely in love with that I couldn’t take it off in the store.  That’s how you know you’ve found the one.     


I was glad the photographer took the funky detail shots like the rings on the heels….     


wedding shoes….     


and my flowers.  My flowers incorporated my old and borrowed in my “something old, something new, something borrowed, something blue”.  My old was an old locket from WWII my great aunt had given me.  My borrowed was my grandmother’s wedding ring I borrowed from my aunt, also strung on the locket chain.  My blue was my sapphire and diamond ring my mother bought me in high school instead of a class ring.   Lastly, my new was both my wedding dress and this amazing string of pearls the hubby bought me.


I also love that she got the bridesmaid flowers….   


and the groomsmen’s boutonnières.     


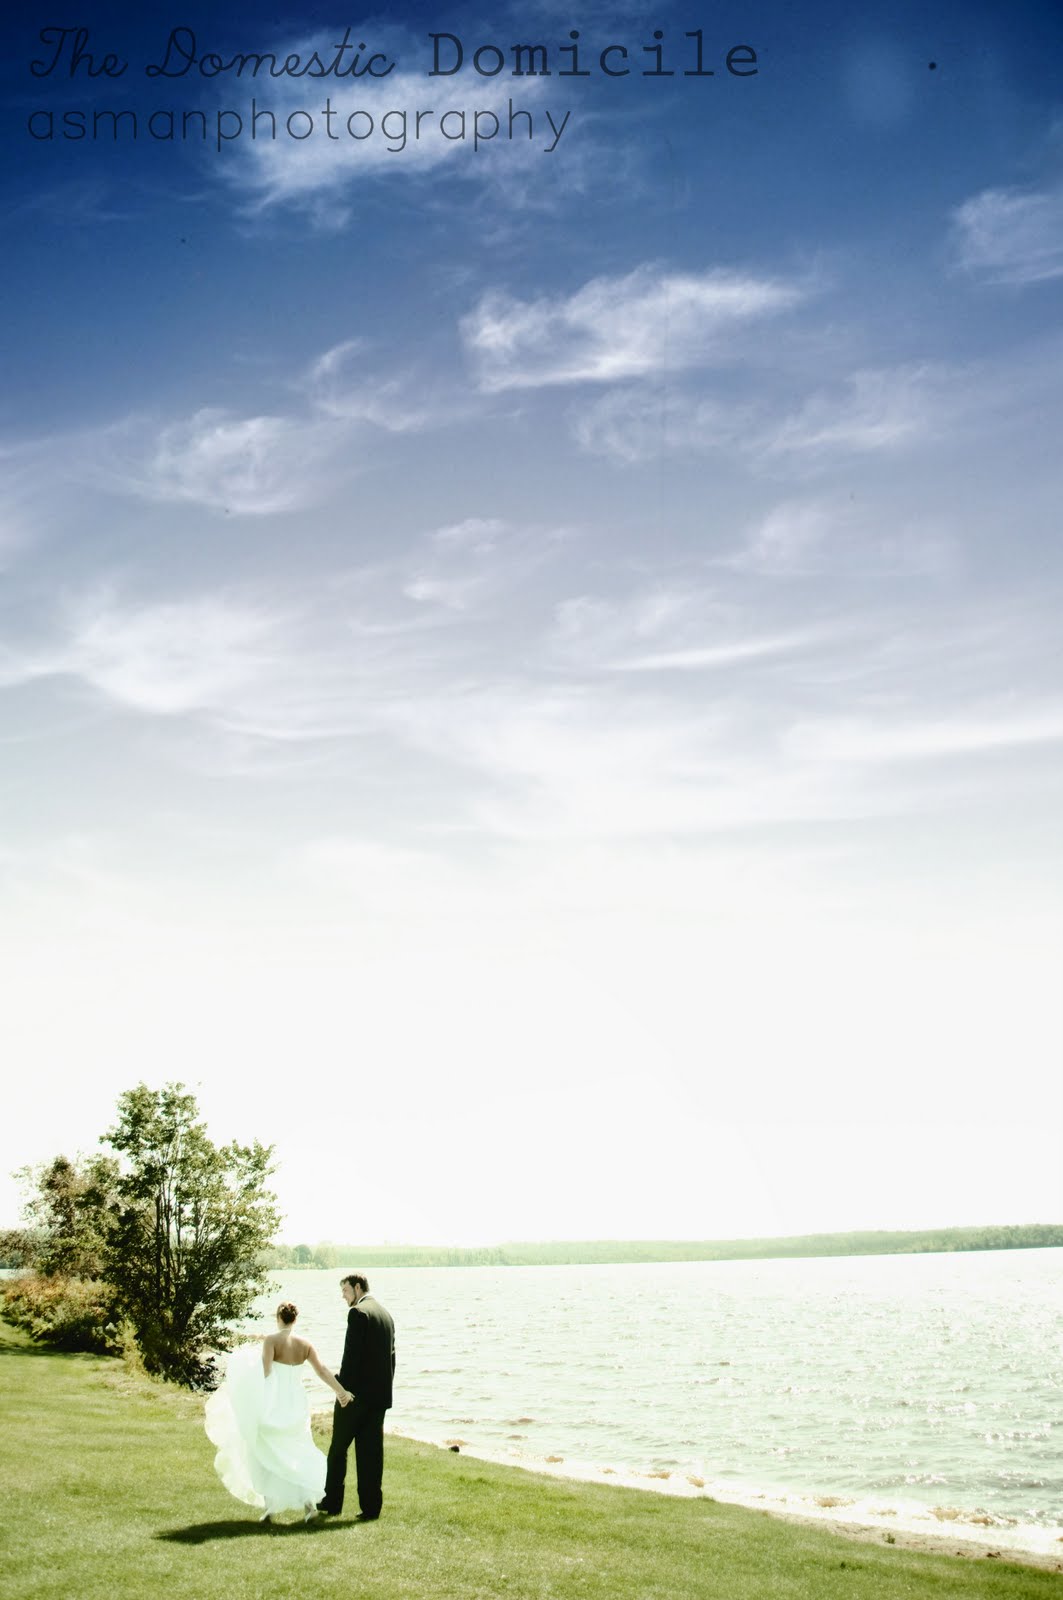
The rest are portraits of my hubby and me.  I love outdoor wedding portraits so the majority of our pictures were outside.  The key for me to getting great wedding pictures was number one have a great photographer.  Look at their portfolio and figure out if they share the same style as you.  Number two, I scouted out great locations (around three in all) to have our pictures taken.  Since I am from the area and had time, knowing the locations ahead of time made for a seamless transition.  Also, have a list of pictures you want on hand ready to give your photographer.  She can’t read your mind and you don’t want her to miss anything.  Lastly, have fun and be yourself.  Don’t spend too much time trying to look perfect – everything will be too posed.  Be fun, be spontaneous, and be you!     


*Pictures of the wedding day were taken exclusively by Amber Asman of asmanphotography.  In short, she rocks.

Friday, August 26, 2011

DIY Wedding Revisited: Photo Guest Book

As an alternative to a regular guest book we choose to do a photo guest book.  We created a guestbook from our engagement pictures from a Kodak photo book and had the guests sign in the blank spaces and on the pictures – yearbook style!  

For the front of the book I choose the “We Do” picture of the wooden signs I made for us to hold.    


To get a good photo guest book make sure you have a variety of outfits for your pictures.  These pictures don’t need to be professional….we bribed my mother, sister in law, and cousin to follow us around with cameras and the pictures turned out great!     


On your spreads, cluster like outfits together and create a series of pictures mixing posed shots with spontaneous.      


Also, don’t be afraid to have a picture take up a whole page.  It makes a big impact statement.      


This was a funky twist on a traditional guest book that I felt we would look at more often than a traditional guest book.  To this day it is sitting on our coffee table and we page through the signatures every now and again. 

Thursday, August 25, 2011

DIY Wedding Revisited: Cupcake Tower

I always knew I wanted cupcakes at my wedding. Amazing, mouthwatering, individual servings of joy.


I knew I needed something big and impressive to put them on so I embarked on a journey to make DIY cupcake towers.  I used 4 foil lined cake boards, differing in sizes from small to large and 3 cake dummies from large to small.  You can order these online or get them at some Michael’s craft stores.  I used ribbon to line the outside of the cake stand and used push pins and pale aqua ribbon to cover the cake dummies.  I glued them together with Styrofoam glue, but be careful because some glues can melt Styrofoam. 


I wanted three different kinds of cupcakes:


vanilla...


chocolate....


and carrot!


I made customized labels for each kind so guests could choose their favorite kind to eat.  The great thing about cupcakes is that for us they were cheaper than cake and guests didn’t have to get stuck with chocolate if their favorite was vanilla. 


We also ordered a small cake for ourselves and the wedding party in strawberry!  We have the top in the freezer to eat on our anniversary for good luck!


*Pictures of the wedding day were taken exclusively by Amber Asman of asmanphotography.  In short, she rocks.

Wednesday, August 24, 2011

DIY Wedding Revisited: Wedding Wine

With weddings, there usually comes wine! Well…for me anyways.  I thought it would be a special touch to make and bottle my own wine for the wedding.  We set off to Wine Creations in Hermantown, Minnesota to make Traminer Riesling


and Wine Zinfandel for the occasion.  Then, three days before the wedding we realized that we had labeled the wine wrong.  Say whhhaat?  When you make wine you mix the ingredients, wait several months and come back and bottle it.  When you are bottling they print customized labels for you as part of the package price, which was wayyy cheaper per bottle than buying it from the venue.  Our labels had our names, wedding date, thank you message, and the wine type.  When you are bottling this delicious wine you get to sample it.  I am thinking we had too many samples because some Riesling labels were on the Zinfandale and vice versa.  This resulted in a panicked call and trip to Wine Creations to print labels….after we had peeled all the labels off!  Of course their printer was broken.  Why wouldn’t it be?  They were amazing enough to let me take blank labels home and print them on the computer.  Some come the wedding day all the wines were thankfully correctly labeled. 


Then came the next hurdle.  Before we made the wine we checked it out with our venue if it was okay if we brought in home made wine.  They said sure and that it was no problem.  Then when a version of the bill came it stated they were charging a $12.00 uncorking fee…per bottle….even if they didn’t have to uncork it.  Ouch… but after bartering with our contact he agreed to waive the fee with the condition that we only had two bottles per table and opened the wine ourselves.  I purchased a ton of small bark un-corkers and hung them from the neck of the bottles with blue ribbon. Problem solved! Now, let's drink wine!


*Pictures of the wedding day were taken exclusively by Amber Asman of asmanphotography.  In short, she rocks.

Tuesday, August 23, 2011

DIY Wedding Revisited: Favor Box Truffels

I had a hard time deciding on favors.  Mostly, because every time I go to a wedding I end up throwing the favor away.  I didn't want to spend $1.00 + for each guest to have the favor thrown away.  My all time favorite favors were can cozies and a Christmas ornament.  But since I didn’t want a “were here to party” feel and it wasn’t Christmas I went in a different direction: edible favors.  And not just any edible favors, DIY Oreo Truffles from Whimsey Love.  I used her tutorial with regular Oreos.  I used the freezer to cool them in between batches because they would harden faster that way without affecting the chocolate.  When you have 200 truffles to make cooling quickly between batches is essential.  I was able to make them several days a head of time and they kept perfectly for the big day. And don’t worry, the truffles didn’t look this sloppy after they were hardened and put in their boxes. 


I ordered some insanely cheap boxes off ebay – one of my wedding supply bff’s.  I crafted up some simple favor tags out of the same cardstock I used for my wedding programs.  This was so much cheaper than the up to $0.90 per label that some companies want.  I printed them on sheets of paper and used a hole punch to cut them out. 


After all the truffles were put into their boxes in mini cupcake liners (so incase they melted they wouldn’t melt on the table - it was August ya know!) I wrapped a ribbon around the box, placed the favor tag on top, and secured with hot glue.  We were able to store the favor boxes the in venue refrigerator and had our host couple put them on the tables minutes before guests arrived.  Our biggest concern was that since we were outside and it was August that we would have melted truffles. 


The day went smoothly and resulted in some stellar favors that were delicious and inexpensive!


*Pictures of the wedding day were taken exclusively by Amber Asman of asmanphotography.  In short, she rocks.

Monday, August 22, 2011

DIY Wedding Revisited: Centerpieces and Decor

I will start out by admitting I was a bit obsessive with my centerpieces.  Google imaging, browsing The Knot, reading articles on Wedding Bee, and just obsessing in general.  Centerpieces set the vibe for your reception.  Do you want a high class Ritz feel? For me, no thank you!  Do you want a casual beach feel? Yes, please! Here was my final product:


But let's start from the beginning.  After I had my vision in mind that included blue beach glass, pink orchids, sand, and lots and lots of candles I created a mock up.  Do you like the wine glasses and wine I added to the table for a more authentic wedding day feel? Me too.  I am a big fan of mock ups to see what you are getting yourself into.  With these mock ups I found that the orchids stayed intact for around 5 days so I had no worries that they wouldn't make it through the night.


Each table had three 7 ¾ inch cylinder vases with sand and a candle alternating with two 11 inch cylinder vases with crushed blue beach glass and pink orchids.  The 7 ¾ inch vases came from the Dollar Tree, the sand came from some guy who sold it for around $1.00 per lb, and the candles were from Ikea.  The 11 inch vases were more expensive at around $2.99 from Target, the crushed beach glass was from the Dollar Tree and the orchids were from Sam’s Club bulk floral department.  For more details on that see this post.    


I had some friends of friends assemble the centerpieces at the tent around 2 hours before the reception.  The vases with the sand and candles were pre assembled, and the vases with the orchids were prepped with the beach glass inside.  The orchids stayed submerged without any weights or attaching them to anything (hence the mock up).  I absolutely love the way the bubbles cling to the orchid pedals. 


This is what the tent looked like overall.  I bought Chinese lanterns in two sizes for around $1.00 a piece on ebay.  I had the hubby and his crew hang them the day before the wedding from the ceiling.  We also added some white Christmas lights, bough on extreme discount the day after Christmas.  It was around $10.00 for lights for the poles and the entire perimeter of the tent.


I couldn’t have been happier for how the décor turned out and the location of the tent against the Vermilion shoreline!

*Pictures of the wedding day were taken exclusively by Amber Asman of asmanphotography.  In short, she rocks.

DIY Wedding Revisited: Program Templates

Due to the amount of requests for my template for these programs I have decided to provide the template FREE to all potential brides who want to recreate this look for their special day! 


Before this template will work on your computer you will need to download the following fonts: Splendid ES and Calabri. You can get Splendid ES free from here, and Calabri is typically found on most computers.

Then, click HERE to get a copy of the template.  This link will take you to the Google docs version of the template.  The template fonts WILL be screwed up, but since you have downloaded these fonts in your computer and loaded them into Word (you can use a tutorial like this if you are unfamiliar with the process) once you download the file the fonts should be correct.  Next, download the file onto your computer and it all should be good to go for you to put in your own information!

If you want to know more about how to assemble to programs go here to the original post!  Measurements and further instructions for assembling are included on the template.

Happy crafting!


P.S. my blood, sweat, and tears went into these programs and they are the sole design of Ann from the Domestic Domicile.  I have no problem sharing my templates with all those amazing brides out there, but this template is designed for personal use only.  It is for kick butt DIY brides and the reproduction of this template is not to be used for profit.

Sunday, August 21, 2011

DIY Wedding Revisited: Place Cards

A big decision for a bride and groom is whether or not to have assigned seating.  There are pro’s and con’s to each.  For us, the pro’s of making sure that everyone had a place to sit with people we thought they would mesh well with was worth the con’s of the extra time and energy of designing place cards and figuring out the seating chart. 


We crafted two shallow boxes out of “old barn wood” that my hubby actually ripped off an old shed at his parent’s house….that they were still using.  We had to calk the edges of the box so we could fill them with sand and the boxes would actually hold the sand.    


As the reception was on a tent on the gorgeous Lake Vermillion where we both grew up, and I love me some sentimentality, I decided to name our tables after the islands on the lake.  They had beautiful names like strawberry island, blueberry island, and sunset island so I just couldn’t resist.  This adds a tricky element into the place card element.  Typically tables are numbered and guests figure out the numbering system and find their table.  To make it easier for the named tables I created a table chart so guests could visually see where their table was in relation to others.  I also had my host couple on hand to guide those who were lost to the correct place.       


When designing the place cards I wanted them to stick right up in the sand.  I simply printed out cards with the person's name and table name and matted the names on two sheets of cardstock in coordinating colors.  I created customized table names that looked similar to the place cards…which the wind promptly blew over.  You win some, you lose some!        


*Pictures of the wedding day were taken exclusively by Amber Asman of asmanphotography.  In short, she rocks.

Saturday, August 20, 2011

DIY Wedding Revisited: Church Décor

The second thing people notice after the programs when they enter the church is the décor. Typically churches have their own beauty so a lot of décor isn’t necessary.  Mine had wood paneling so I decided some simple touches wouldn’t hurt.  I may joke about the wood paneling, but my husband’s parents, grandparents, and basically all their relatives have been married in this church…so it’s kind of a big deal.  And for a sentimental sap like me, I love a good tradition. 


I absolutely LOVE Sam’s Club bulk floral.  I purchased the hydrangeas for the pews, lilies for the altar, and orchids for the centerpieces here.  All the flowers came in great condition!  The key to successfully ordering bulk floral is to order it several days before the event.  I ordered my flowers on Thursday for a Saturday wedding.  It gives you some wiggle room so if they are a day late it is not the end of the world.  You need to have several people on hand along with buckets of water for both cutting in and storing the flowers and scissors.  Once they come, open the flowers immediately cut the stems under water at an angle.  When you cut flowers they immediately will take in water so that’s why you need to cut them under water and the angled cut is so the most amount of water can enter the stem.  Put them in buckets with the included plant food and put them immediately in a refrigerator. 

I purchased 14 tin buckets from Target’s dollar section and some pale aqua ribbon from Michaels.  I ordered 2 orders of hydrangea’s from Sam’s Club bulk floral department at around $50.00 a pop and grabbed some floral foam from Michaels to make it a day for the “Pew Bucket Project”. 

I had a handy aunt assemble the buckets the day of by soaking the floral foam and adding water to the buckets.  She stuck the stems in the floral foam, three hydrangeas to a bucket then put them back in the refrigerator.  To prep for this project drill a small hole near the top of the bucket on each side with a drill.  Tie your ribbon through these holes and you are done.  She put the hydrangeas out a half hour before the ceremony so they would be nice and fresh when guests arrived.  They didn’t wilt or die (even in the un-air conditioned church) and were sturdy enough to be transported out to the reception tent for all night decorations.

At the church we started with the first pew on each side and hung a bucket from every other pew going back.  Hanging from every other pew definitely saved money and created a nice visual affect that wasn’t too cluttered.  


At the altar we placed the remembrance lilies which were also from Sam’s Club.  On each side of the unity candle we placed a silver tray full of candles and sand.  The tray and candles were very inexpensive from Ikea and the sand was left over from our centerpieces.  For unity candle stands we bought some funky silver candle holders from Ikea, rather than paying an arm and a leg for proper unity candle holders.  The actual unity candles themselves were ordered online from ebay from an amazing woman who personalizes the main candle with your names and wedding date and also the tapers with each of your last names.   


*Pictures of the wedding day were taken exclusively by Amber Asman of asmanphotography.  In short, she rocks.

Friday, August 19, 2011

DIY Wedding Revisited: Programs

Your programs will set the stage for the ceremony and are the first thing the guest pick up when they arrive.  They are also something a guest will read out of interest or boredom while waiting for the ceremony to start.  I DIYed my entire programs from creating the graphics and design to, with a little a lot of help assembling these babies.  I choose to do a light aqua cardstock backing with four tiered overlapping sections.  The first section was a graphic of our names and included our wedding date and church name.


The second portion was acknowledgements where we thanked everyone for their support, especially our parents.  We had remembrance lilys at the altar for those special people in our lives who had passed before us and the acknowledgements was where we choose to explain this remembrance.    


The ceremony part is pretty self explanatory.  Depending on your religion or the type of ceremony you are having it guides guest through the experience.  This may be important if you are deviating from tradition, if some guests are from different religions or cultures and aren’t familiar with the ceremony, or just for guests to follow along.     


We also choose to include the wedding party in the program.  We had the traditional bridesmaids and groomsmen, but also included personal attendants and a little tradition we have up north called “host couples”….who really are your wedding day slaves and have to schlep your presents around and attend to your needs.  We love host couples.      


I will not lie.  These programs were a beeyotch to make.  I ordered the cardstock and paper from paper and more, a fabulous paper store online with great rates.  To optimize paper I cut the cardstock in half lengthwise (so I could make two programs per sheet) and then used that width to dictate the width of my paper.  I created the graphics in word and power point. 

**Update: After I took some measurements again and ripped apart one poor program I made some new discoveries.  Since all the text was too wide I had to go with one sheet of cardstock per program.  Also I discovered that I stapled all the tiers together at the top!

It is tricky to get all sections to be of equal width and also to get your tiers to line up perfectly so all of the footers are showing and your “wedding party” section isn’t half covered up by your “ceremony” section.  Needless to say there were a lot of test pages printed.  Then I measured them out and put them in a word document so I could get as many sections per paper as possible.  After that I headed off to Office Max with the files in the jump drive and a song in my heart.  I then took several trips back to Office Max so their computer could read my files.  I choose Office Max to do my printing so it would be of higher quality and I could save on my ink.

After all was said and done, everything was printed, all the materials were gathered I headed off to my Mother-in-laws house to assemble.  I used the cheap thin ribbon from Michaels to assemble this thing and a X-acto knife to cut slits to thread the ribbon through. The key to making sure the top part of the cardstock stays creased (to hide your top edges) is lots of pressure on the crease and hot glue.  Then cut, thread, and tie. 

My mother in law, a friend, and myself started out in the morning and after 3 hours of assembling these babies we called in the reinforcements.  4 more helping hands showed up it only took us eehhh 2-3 MORE HOURS to get them all assembled.  There was a slight oversight on my part of the actual time commitment, but I wouldn’t have changed a thing. They were prefect and I loved them so much that all the blood, sweat, hot glue burns, and tears were worth it! Due to the amount of requests for a template for these programs I have provided one here!      


We put them in a basket on the wedding day and they looked amazing!  This was definitely a DIY triumph!


*Pictures of the wedding day were taken exclusively by Amber Asman of asmanphotography.  In short, she rocks.