
A couple of weekends ago the hubby and I got to work in the garage all day to make our beautiful microwave island. We based it off this inspiration here. Here is what you’ll need for the project:
Materials
- 4 1x6 8 foot pine boards
- Wood Glue
- 4x8 Sheet of Birch Faced Plywood
- 1 inch pocket hole screws
- Paint - I used Ostrich from Behr with paint and primer in one
- Paint brushes
- Countertop (Butcher block from IKEA or any other of your choosing)
- Oil to oil your butcher block countertop
- Cup hooks (the same numbers as pots/pans you will be hanging)
- 80 grit sandpaper
- 220 grit sand paper
- Tools:
- Chop or miter saw
- Jig saw
- Pocket Screw Jig
- Skilsaw
- Clamps
- Electric Screw Driver
- Electric Sander
Using 1x6 8 foot pine boards cut 3 33½ inch boards with chop saw or miter saw. The microwave island that we are making will not be countertop height because it has to fit under the window sill SO if you want your island at countertop height cut to 34½ inches.
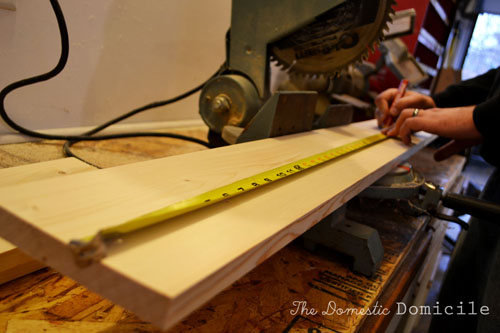
Cut down the 3 33 ½ inch boards to make 9 1½ x ¾ inch x 33 ½ inch boards using a table saw. You will get three 1 ½ x ¾ x 33 ½ inch boards from each 1x6 board, but you will only need 8 total 1 ½ x ¾ x 33 ½ inch pieces.

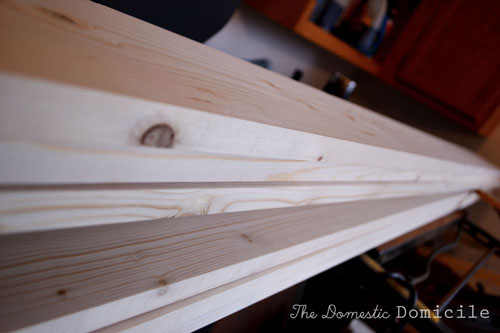
Looking at the 8 boards you just made pick the “worst” long side of each board and mark it with a pencil accordingly. With wood glue (I used Elmer’s Carpenter Wood Glue – make sure it is sandable and paintable!), glue 2 of the 1 ½ x ¾ x 33 ½ inch “bad” long sides together to form a perfect square.

To glue, put one thin line of glue down the center of the board (but enough to spread a thin layer over the entire surface of the wood) and spread even and thin. It's okay to use your finger.

Line up the other “bad” side of the board and place together. Using clamps, clamp the two boards together and wipe away excess glue that may have seeped out onto the sides of the wood.

Use several clamps per leg.

Cut 6 44 ½ x 1 ½ x ¾ boards from the 1 x 6 pine boards. These boards will be referred to as “Trim A”. Then cut 6 1 ½ x ¾ x 13 inches long trim boards from the 1x6 8 foot pine boards. These boards will be referred to as “Trim B”.

Now you will need your pocket screw jig…read the instructions or grab someone who knows how to use the thing. It’s not hard…I became a pro by the end of the weekend! Taking your 12 trim boards you just cut, screw two holes in each end with the Pocket Screw Jig and your electric screwdriver. There should be a drill bit included in the kit that you make your holes with. Before drilling make sure that you are drilling on the “worst” side of the board with the most flaws or knot holes. Each time you make a hole you should line up the side you are making the hole on with the edge of the Pocket Screw Jig like this:

When your finished your boards should look like this:

Next cut your plywood with a circular or skilsaw.

If you are using a circular saw use a board as your guide. Make your cut with the “bad side” of the wood facing up.

When making your cut you need your saw to be one tooth below your board.


Notch out each corner of your two 13 ½ x 45 inch pieces of plywood. Cut out ¼ x ¼ inch notch out of each corner with a jig saw with the “bad side” facing up. You can clean up and square off the notches with a wood chisel if you need.

Using the Pocket Screw Jig screw pocket holes every 3 inches around the perimeter of each plywood piece on the “bad side” of the board.

Wheew….that’s it for this part of the tutorial. Check back for more instructions on how to put your butcher block island together!
No comments:
Post a Comment
Let me know what you think. I would love to hear from you!