
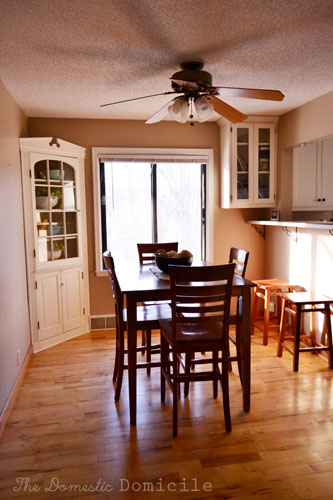
Remember when our dining room looked like this? While, after staining the faux barn wood and making the light box for our new light fixtures the dining room began to look a little different. Namely the fan had places to be….and that place wasn’t in our dining room.
The transformation first started by ripping the fan of the wall. Note – do not do this unless you have electrical training as the hubby does. A good tip of the day is to first turn off the breaker that powers the fixture so you don’t…I don’t know….get electrocuted or something absurd like that.

Another good hint is to wait until almost dusk to start your project. That way you will have the extra challenge of finishing it in the dark like we did. Doesn’t everyone like a challenge? The hubby put some wires through the electrical boxes before mounting it on the ceiling.

Next you mount it to the ceiling by drilling blocks the width of the box into the ceiling and drilling screws straight through the box into the pieces of wood. Then the electrical fairy comes and….let there be light! As you can see I am skipping over the technical electrical stuff. My thought is either you know it or you don’t – if you don’t you will probably need more help than I can give!

I love the vintage/farm/industrial look of the boards paired with the lights. It makes the space appear a lot more purposeful. The light fixture is now centered on the table rather than off to the side like the fan! Ahhh pure bliss of another project under the belt! Check back for more pictures when we finally mount the mirror!

No comments:
Post a Comment
Let me know what you think. I would love to hear from you!